I've recently released my first rust project on Homebrew. This was my first time publishing a project to be downloadable using Homebrew.
There seems like many different ways to do it, but I used GitHub Releases to release my project in a binary, and I'd like to share the steps I took.
Build your project
In order to publish your project on Homebrew, you need to provide a binary executable. This can be done simply using the following command:
$ cargo build --release
This will create an optimized, release-ready, version of your project under target/release directory with a binary being the name of your project, let's say pomosh.
target/release/pomosh
Homebrew expects a tar archive.
$ cd target/release
$ tar -czf pomosh.tar.gz pomosh
Github Releases - Upload the binary
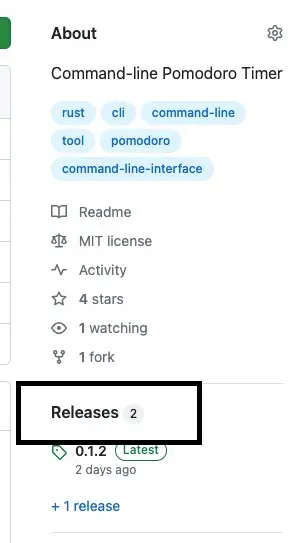
Goto your project repository and navigate to Releases page.

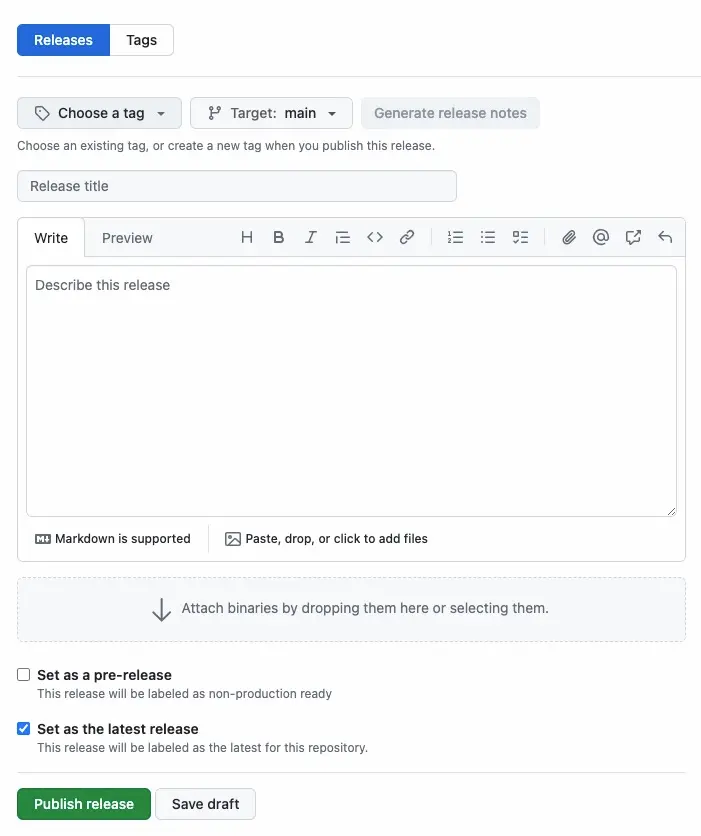
Click Draft new release button on the top and you'll be navigated to a page where you can upload your packages with a version.

Click Choose a Tag and add your version from existing or create one on the fly, v0.1.0. Then the title will be your version, 0.1.0.
Write about your release in the textarea and once you're done, click Publish relase.

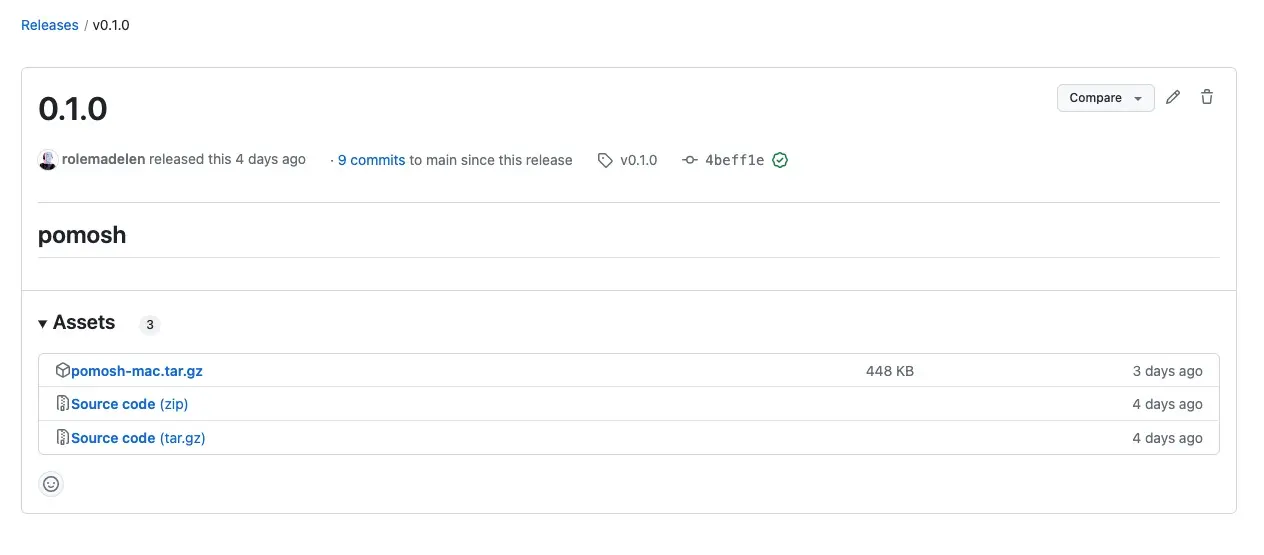
In the later process, you'll need the URL of tar package (pomosh-mac.tar.gz). Open the Assets section and copy the URL of your tar archive.
https://github.com/rolemadelen/pomosh/releases/download/v0.1.0/pomosh-mac.tar.gz
Hombrew Tap - Third Party Repository
You can install third-party repositories using the brew tap command. Taps, are simply a repository with specific names and couple configuration files written in Ruby.
We'll create a repository in Github. You'll name your repository using the following format:
homebrew-<project_name>
Since our project in this case is pomosh, the repo name will be homebrew-pomosh.
Create and clone the repository for the next step.
Prepare the Formula
You'll need to create a formula which is a package definition written in Ruby; it's an instruction that describes how to install your binary on the users' computers.
In your newly cloned repository, create a directory named Formula, and a ruby script with your project name.
Formula/
⌎-- pomosh.rb
README.md
In the pomosh.rb, paste the following command.
# Documentation: https://docs.brew.sh/Formula-Cookbook
#                https://rubydoc.brew.sh/Formula
# PLEASE REMOVE ALL GENERATED COMMENTS BEFORE SUBMITTING YOUR PULL REQUEST!
class Pomosh < Formula
  desc "Command-line Pomodoro Timer written in Rust"
  homepage "https://github.com/rolemadelen/pomosh"
  url "https://github.com/rolemadelen/pomosh/releases/latest/download/pomosh.tar.gz"
  sha256 "TAR_ARCHIVE_SHA256"
  version "0.1.0"

  def install
    bin.install "pomosh"
  end
end
Make sure to replace all pomosh with your project name including the class name.
You can get your SHA256 hash using the following command on your tar archive:
$ shasum -a 256 pomosh.tar.gz
Once you're done, commit and push the changes.
$ gaa # git add all
$ gcmsg "v0.1.0 release" # git commit -m "message"
$ ggp # git push origin <your current branch>
Install the package
Now you're ready to install your package using Homebrew.
$ brew tap <github_username>/<project_name>
$ brew install <project_name>
In my case, it will be:
$ brew tap rolemadelen/pomosh
$ brew install pomosh